How to Optimize Your Amazon Listings for Alexa for Shopping (Formerly Rufus)
June 10, 2026

On May 13, 2026, Amazon retired the standalone Rufus chatbot and folded its technology into a new assistant called Alexa for Shopping. If you spent the last year optimizing for Rufus, your work was not wasted. The conversational engine that powered Rufus survives – Amazon combined Rufus’s product knowledge with Alexa+’s personalization and rebuilt it as the default AI layer across the Amazon Shopping app and website.
Three things changed, and they raise the stakes. Reach: Rufus lived in a side chat window most shoppers never opened. Alexa for Shopping is on by default for every signed-in U.S. customer – no Prime membership or Echo device required. Surface area: It now sits in the main search bar, generates AI overviews above search results, and runs side-by-side product comparisons inside the results page and on product detail pages. Personalization: It draws on a shopper’s full Alexa conversation history, not just their Amazon purchases.
The result: an AI assistant summarizes, compares, and recommends before a shopper ever reaches your listing. Rufus reached 300 million customers and drove roughly $12 billion in incremental sales in 2025 as an opt-in beta. Alexa for Shopping is now in the path of every signed-in U.S. shopper – and Prime Day runs June 23–26, when that traffic peaks.
The good news for sellers: the optimization playbook is the same engine reading the same listing data. This post covers exactly what to do and where to do it, ordered by impact. Start with backend attributes, work through listing content, then use the data the assistant generates about your products to close remaining gaps. Everything here is available in Seller Central or the Amazon app.
Use the table below as a reference as you work through each step.
| Signal | Where to Find It | What to Do With It |
|---|---|---|
| Which questions the assistant associates with your products | Advertising > Reports > Sponsored Products > Prompts | Update bullets, A+ Content, and Q&A to address the questions directly. |
| Unanswered buyer questions | Product listing Q&A section in Seller Central | Answer all open questions. Migrate recurring ones into listing content. |
| Use cases in review text | Customer Reviews tab by ASIN; filter to written reviews | Identify use cases mentioned in reviews. Confirm they appear in your listing copy. |
| Attribute completeness gaps | Manage All Inventory > Edit listing > Product Details tab | Fill every available category-relevant attribute field with accurate, specific data. |
| Your price history shoppers can now see | Tap “Price History” on any product detail page | Audit reference pricing. A full year of price changes is now visible to every shopper. |
Step 1: Run a Backend Attribute Audit
This is the highest-leverage starting point. Product attributes have become a ranking factor for AI surfaces: complete attribute data feeds AI overviews and side-by-side comparisons directly. An empty attribute field is a severed connection between your product and the queries it should be answering.
In Seller Central, go to Manage All Inventory, select an ASIN, and open the Product Details tab. Work through every available attribute: size, material, intended use, compatibility, included components, age range, room type. Fill each one with accurate, specific data. “Medium” is less useful than “12 x 8 x 4 inches.” “Various” is less useful than the actual materials listed individually.
One critical check: make sure visible listing content and backend fields are consistent. If your title says “3-pack” but your Item Package Quantity says “1,” that conflict can cause the assistant to suppress your product to avoid giving shoppers wrong information.
Step 2: Audit and Answer Your Q&A
Q&A is directly indexed by the assistant. Unanswered questions sit on your listing indefinitely and surface to future shoppers. Go to each key ASIN in Seller Central and answer every open question. Be specific. A question like “does this work with X brand” deserves a direct yes or no, not a redirect to the product description.
After answering, read all the questions as a set. Questions that appear more than once are content gaps. Those answers belong in your bullets or A+ Content, not just buried in Q&A. The audit tells you exactly where those broader gaps are.
Step 3: Rewrite Bullets to Answer Questions, Not List Features
This is where most listings fall shortest. Feature-describing bullets tell the assistant what the product is. Question-answering bullets tell it what problem the product solves and who it’s for. That’s what the assistant needs to make a confident recommendation — and bullets that lead with the specific feature, then the benefit, are the easiest for it to extract into a summary or comparison. Keyword-stuffed bullets that satisfied the old algorithm can now work against you.
The test for each bullet: is it answering a decision-making question, or describing a product attribute?
- “Stainless steel construction” describes an attribute.
- “Dishwasher safe and odor-resistant after six months of daily use” answers the question “will this hold up.”
- “Adjustable shoulder strap” describes a feature.
- “Fits laptop screens up to 15 inches, adjusts for carry lengths between 18 and 36 inches” answers the question “will this work for me.”
Go through your top five bullets on every key ASIN with that test. Your Q&A audit will tell you exactly what questions to answer.
Step 4: Fix Your A+ Content
A+ Content that is primarily images gives the assistant almost nothing to work with. It draws on the text in A+ Content modules to answer shopper questions, and it favors content that reads as informational rather than promotional. A lifestyle photo with no text overlay is invisible as a content source.
Two fixes:
- Make sure every A+ module has meaningful written copy in the text fields. Cover use cases, compatibility, what’s included, and common comparisons.
- Add specific, readable text overlays to infographic images. “Fits bottles up to 32oz” as text on an image gives the assistant a data point. A graphic with no text does not.
If you have a comparison chart, make sure it addresses the comparisons shoppers actually ask about. A chart comparing your own product variations is less useful than one explaining how your product differs from generic category alternatives. With side-by-side comparisons now running inside search results, the comparisons you lose are the ones you never gave the assistant the data to win.
Step 5: Use Rufus to Audit Your Own Listings
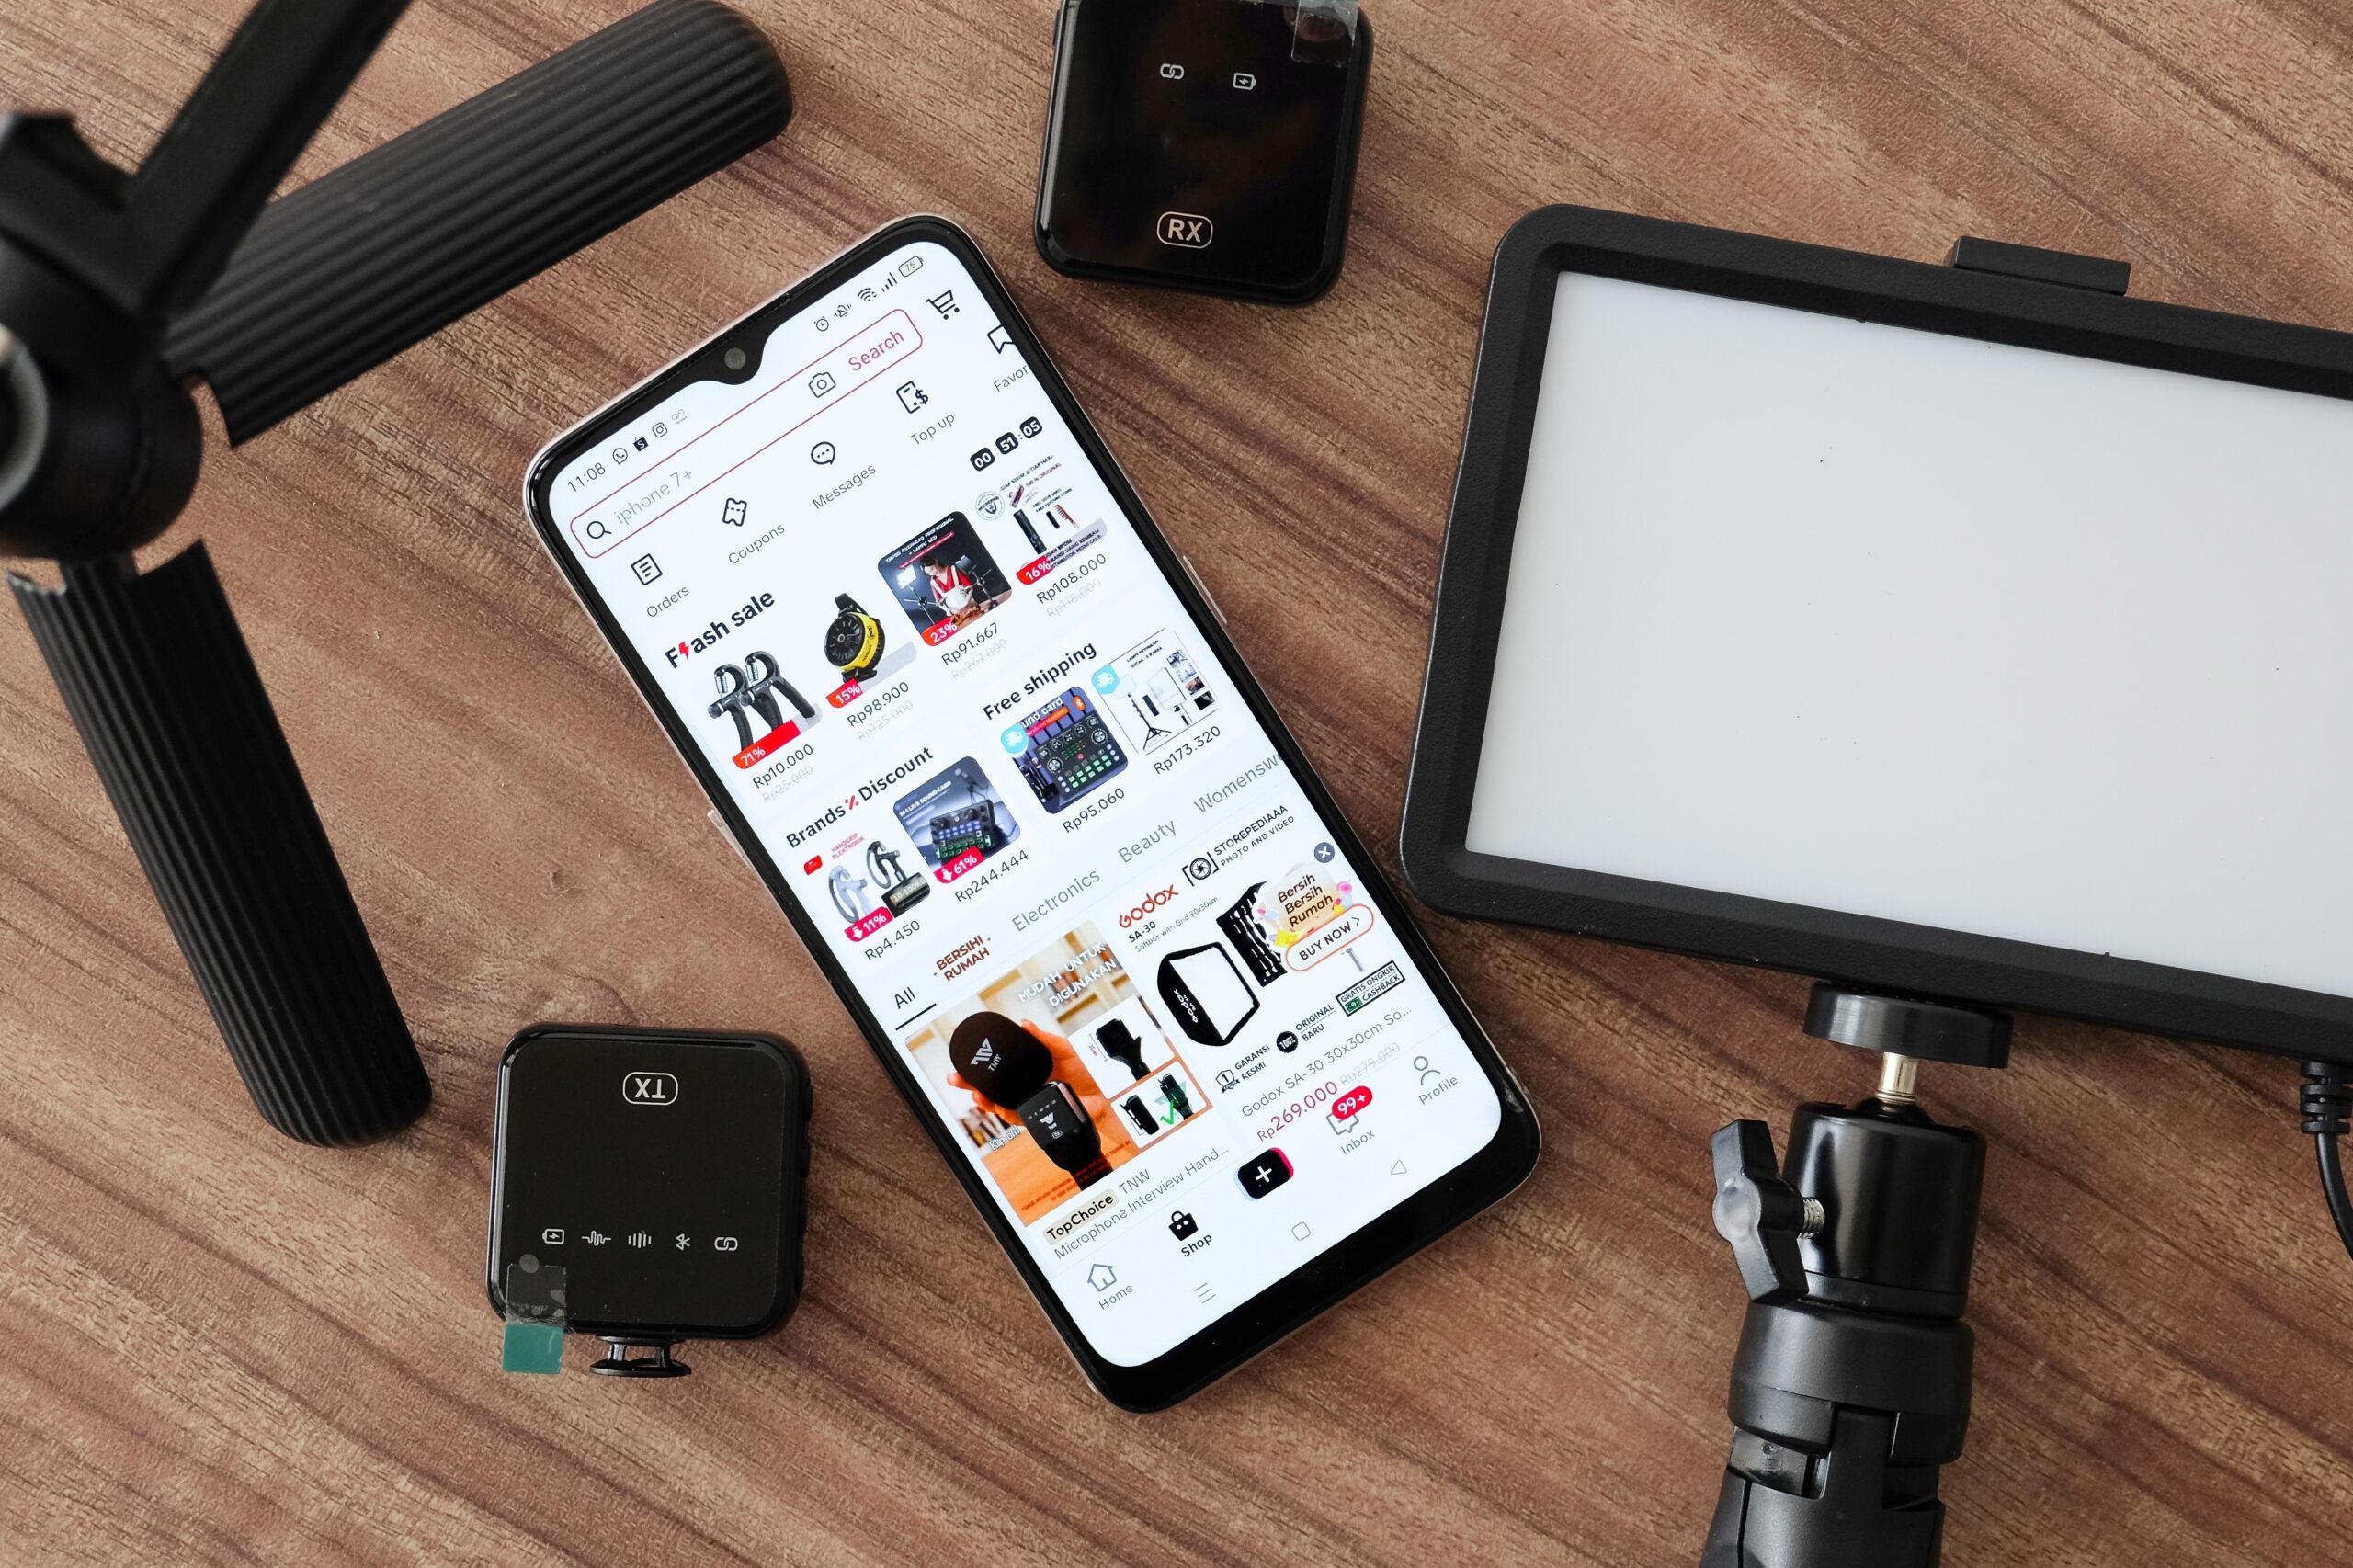
Open the Amazon app, tap the cursive “A” icon, and ask the assistant questions about your own products. Try: “Tell me about [product name],” “Is [product] good for [primary use case],” and “How does [product] compare to [competitor category].”
What it says is a direct reflection of how it interprets your listing. If it describes your product inaccurately or can’t answer a basic question, that’s a listing problem you now know about specifically. Compare its answer to your listing and close the gap.
Step 6: Review Your Price History and Reference Pricing
This is new, and it’s worth a dedicated pass. Alexa for Shopping now shows up to a full year of price changes on hundreds of millions of products — shoppers tap “Price History” on any product detail page to see it. If you’ve been using inflated reference prices to manufacture the appearance of savings, that strategy is now visible to every shopper and undercuts trust at the moment of decision. Audit your reference pricing and promotional cadence with the assumption that the full year is on display.
Step 7: Check the Sponsored Products Prompts Report
The Prompts report (Measurement and Reporting > Sponsored Ads Reports > Create Report; set Report Category to “Sponsored Products”; set Report Type to “Prompts”) shows the exact natural-language questions the assistant matched to your products.
Pull this for any ASIN with meaningful ad spend. If the questions are accurate and relevant, that validates your content direction. If they’re off-target, the assistant is misinterpreting your listing. Use the prompts data to prioritize which content gaps to close first.
Where to Start and How to Measure
Do not start with your full catalog. Start with your top three to five ASINs by revenue. A 5% conversion lift on a high-revenue ASIN is real money. The same effort on a long-tail SKU is not. Note your baseline conversion rate and BSR before making changes. Give updates two to four weeks before evaluating results.
Track three signals:
- Unit session percentage in Seller Central — the closest proxy for listing-level conversion rate.
- Impression share on long-tail queries in your Search Query Performance report. Rufus traffic shows up as increased share on conversational, multi-word queries that previously drove little volume.
- New-to-brand purchase rate. Discovery patterns are changing. New-to-brand sales are the leading indicator of whether your products are still being surfaced to first-time shoppers.
- The Prompts report monthly — track whether questions Rufus matches to your products are becoming more accurate over time.
This isn’t a one-time project. Q&A accumulates new questions, reviews evolve, competitors update their listings, and the assistant keeps learning more about each shopper. Quarterly is the right cadence for a full review. High-revenue ASINs with active ad spend are worth checking monthly.


Ready to scale your business?
Talk with one of our ecommerce experts.